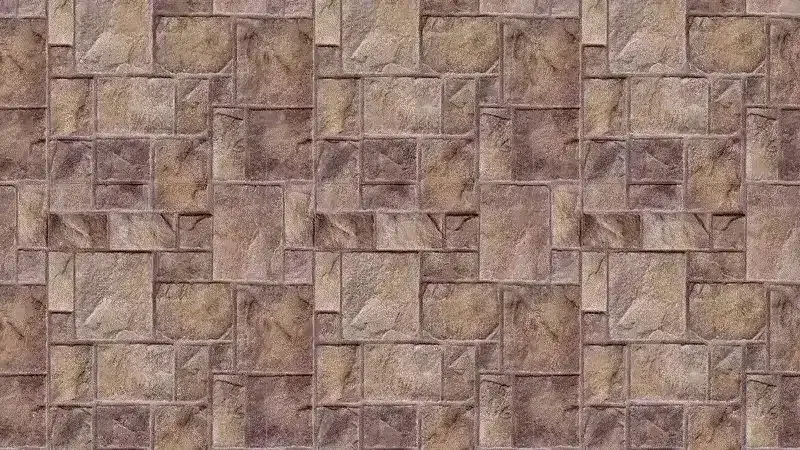
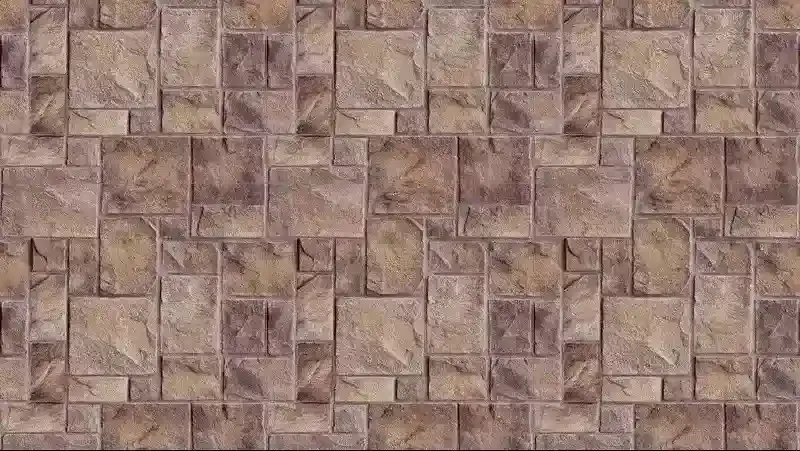
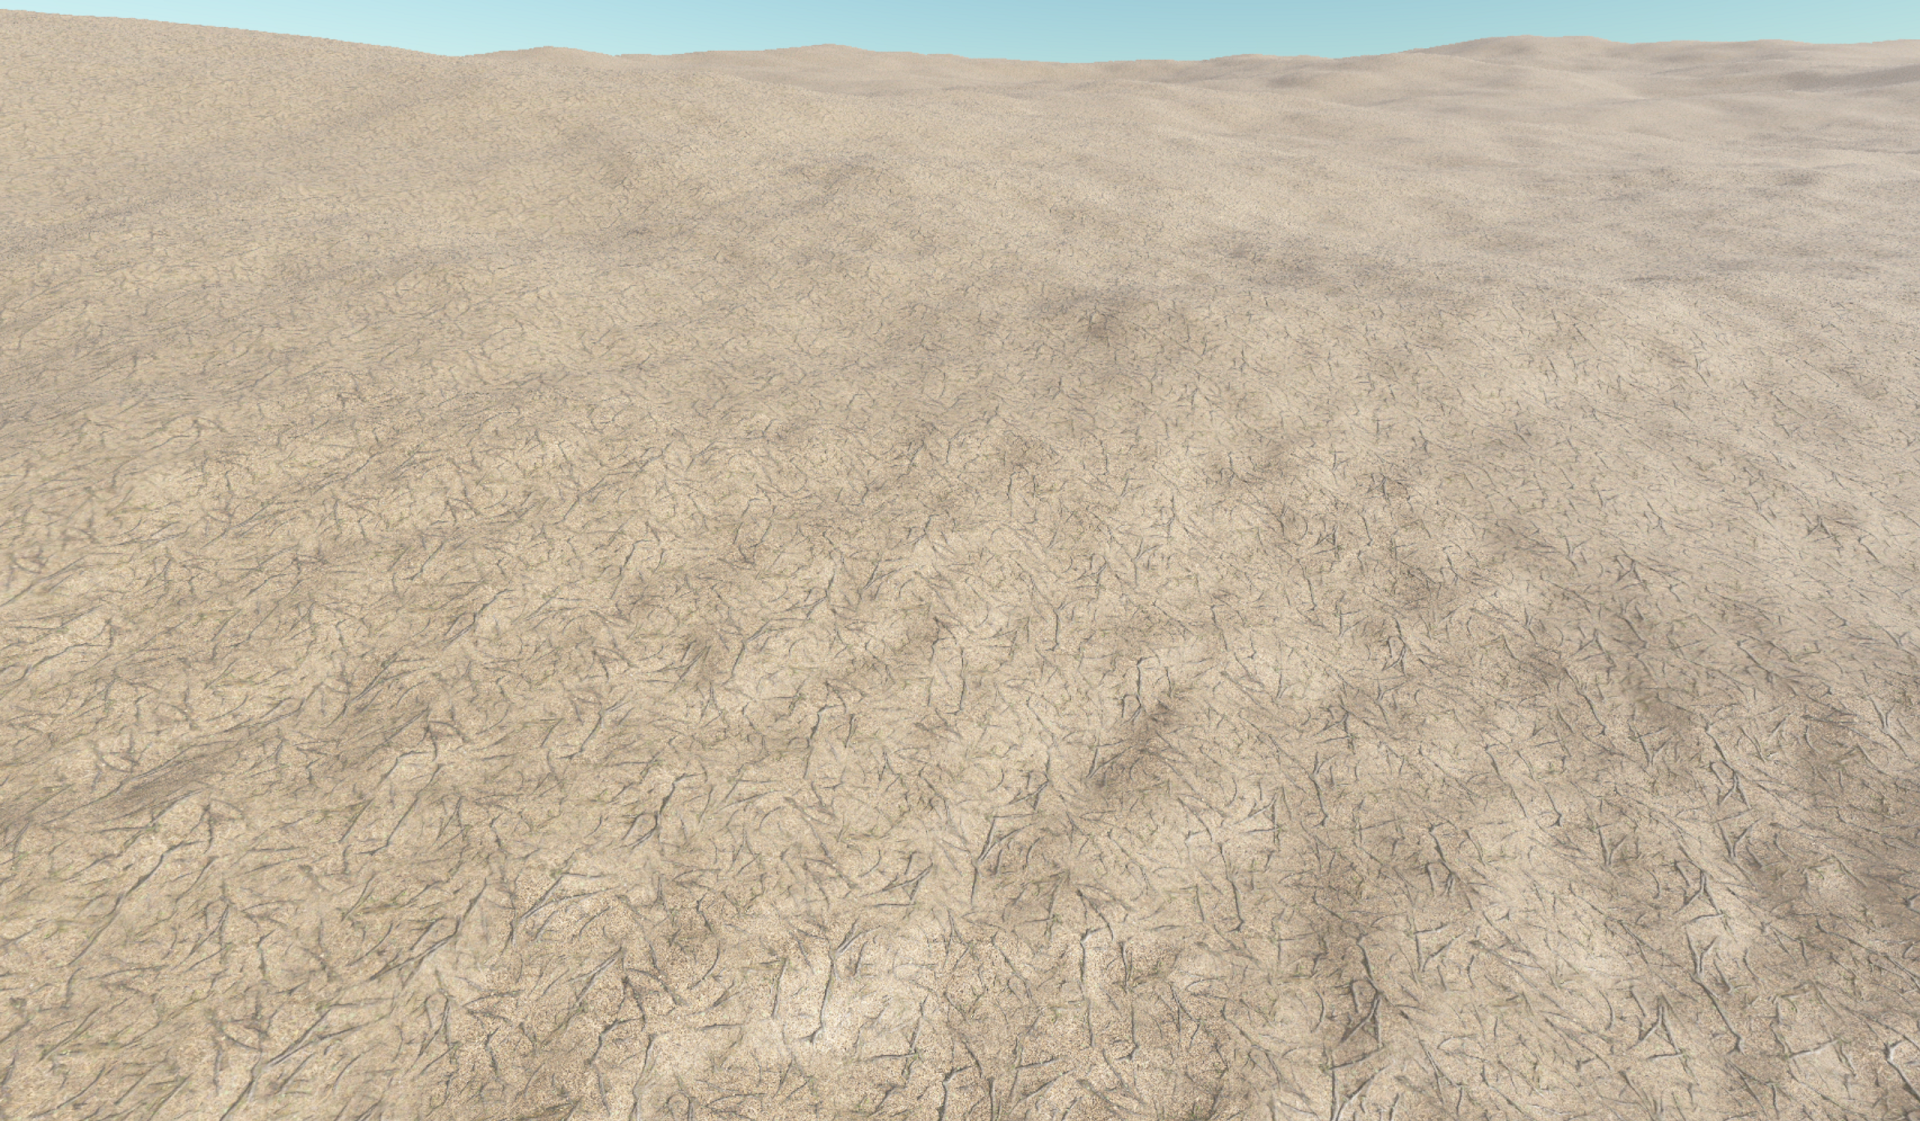
One of the significant challenges associated with creating a planet-sized world is the issue of texture repetition. Monotonous textures not only degrade the aesthetic quality of the environment but also disrupt the immersive experience. Therefore, in order to create convincingly vast open worlds, it is vital to discover methods to overcome this repetitive pattern.
So, what exactly is stochastic texturing? The term 'stochastic' refers to randomness, thus, stochastic texturing implies the application of randomness in texturing. Essentially, this technique involves infusing randomness into the uniform placement of textures.
This methodology incorporates the generation of multiple masks and subsequently adjusting the placement of textures for each of these masks. Once this process is complete, the various textures are blended together. This technique should effectively mitigate, if not completely eradicate, repetition across expansive landscapes.
Author: Djanco Dewus Shader / Technical artist

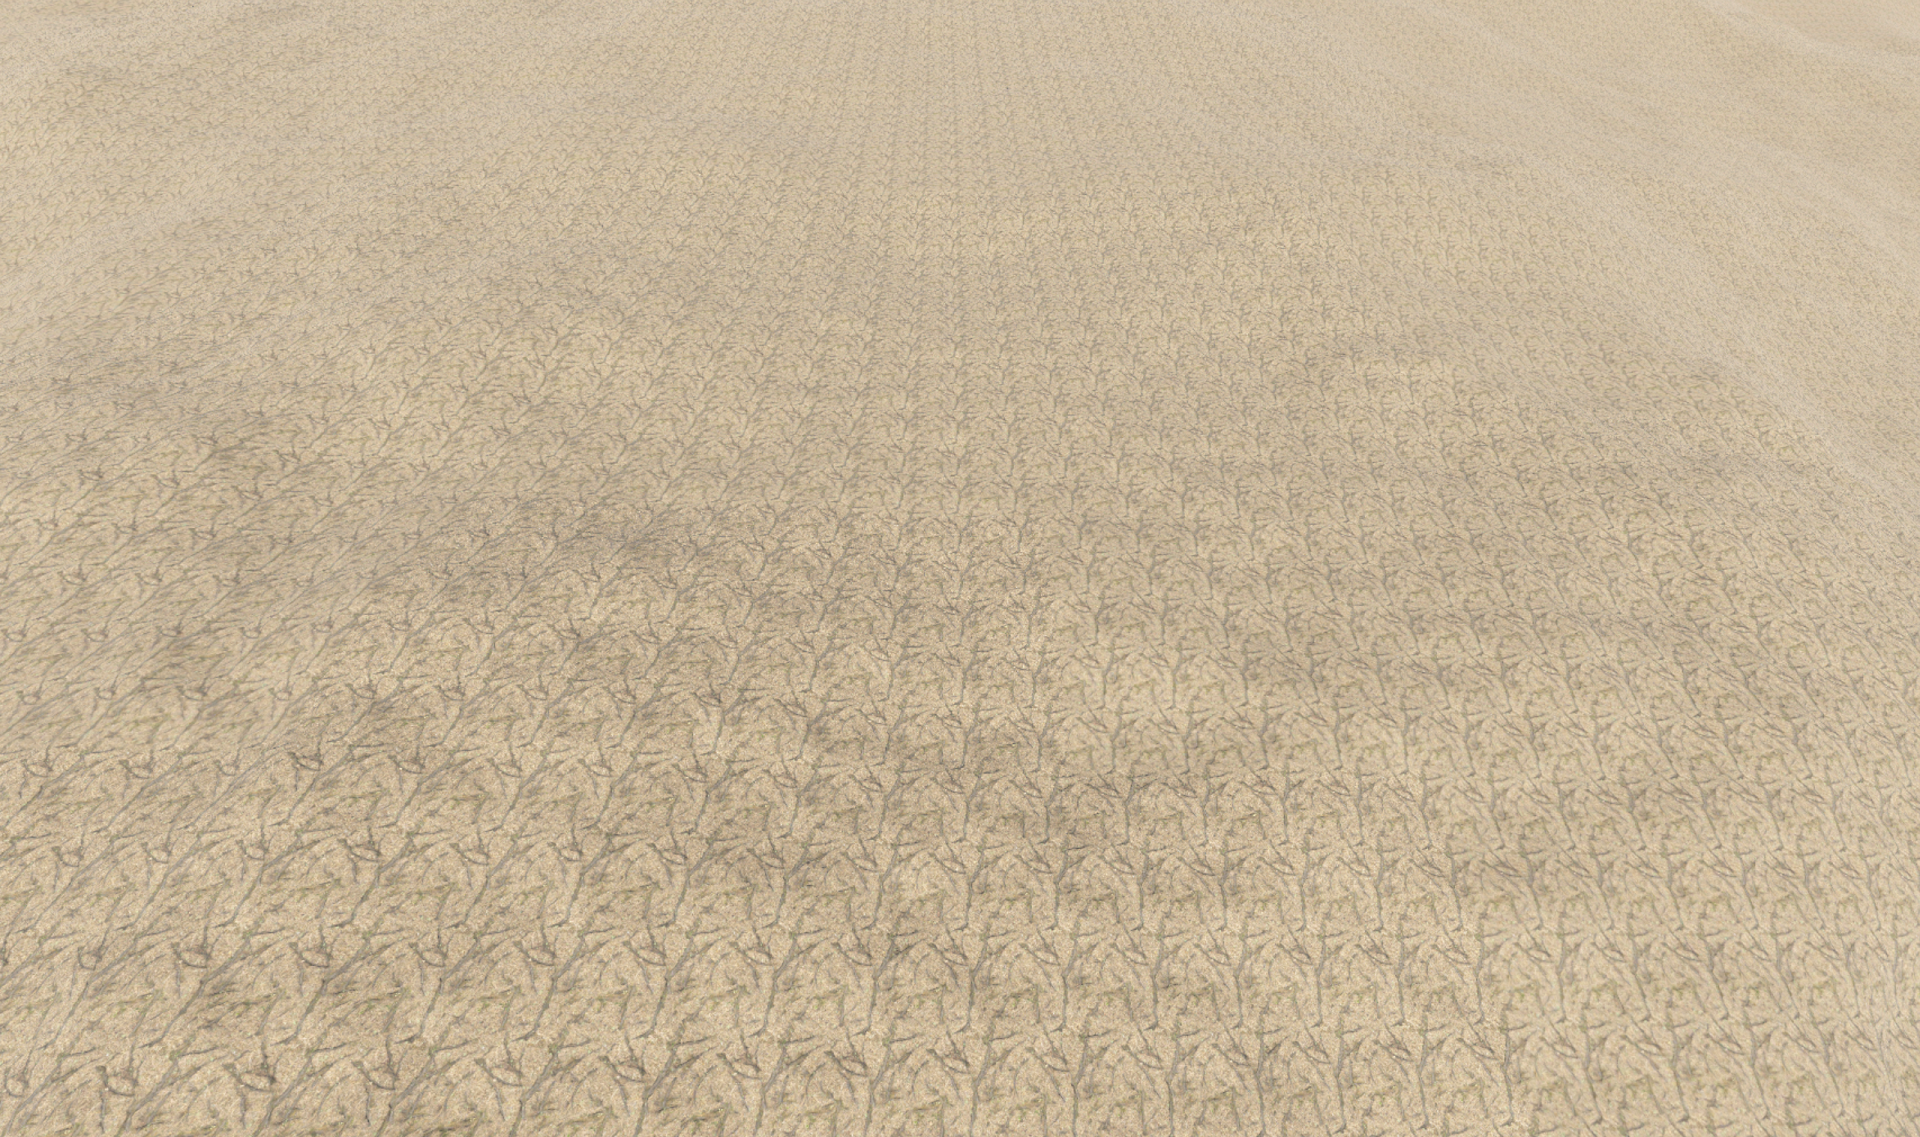
Repetitive texture tilling
Step 1 - Generating mask
One of the essential components of stochastic texturing is generating high-quality masks. these masks are used to blend between differently transformed (rotated, scaled, and moved) versions of the textures. There are numerous types of masks that can be used.
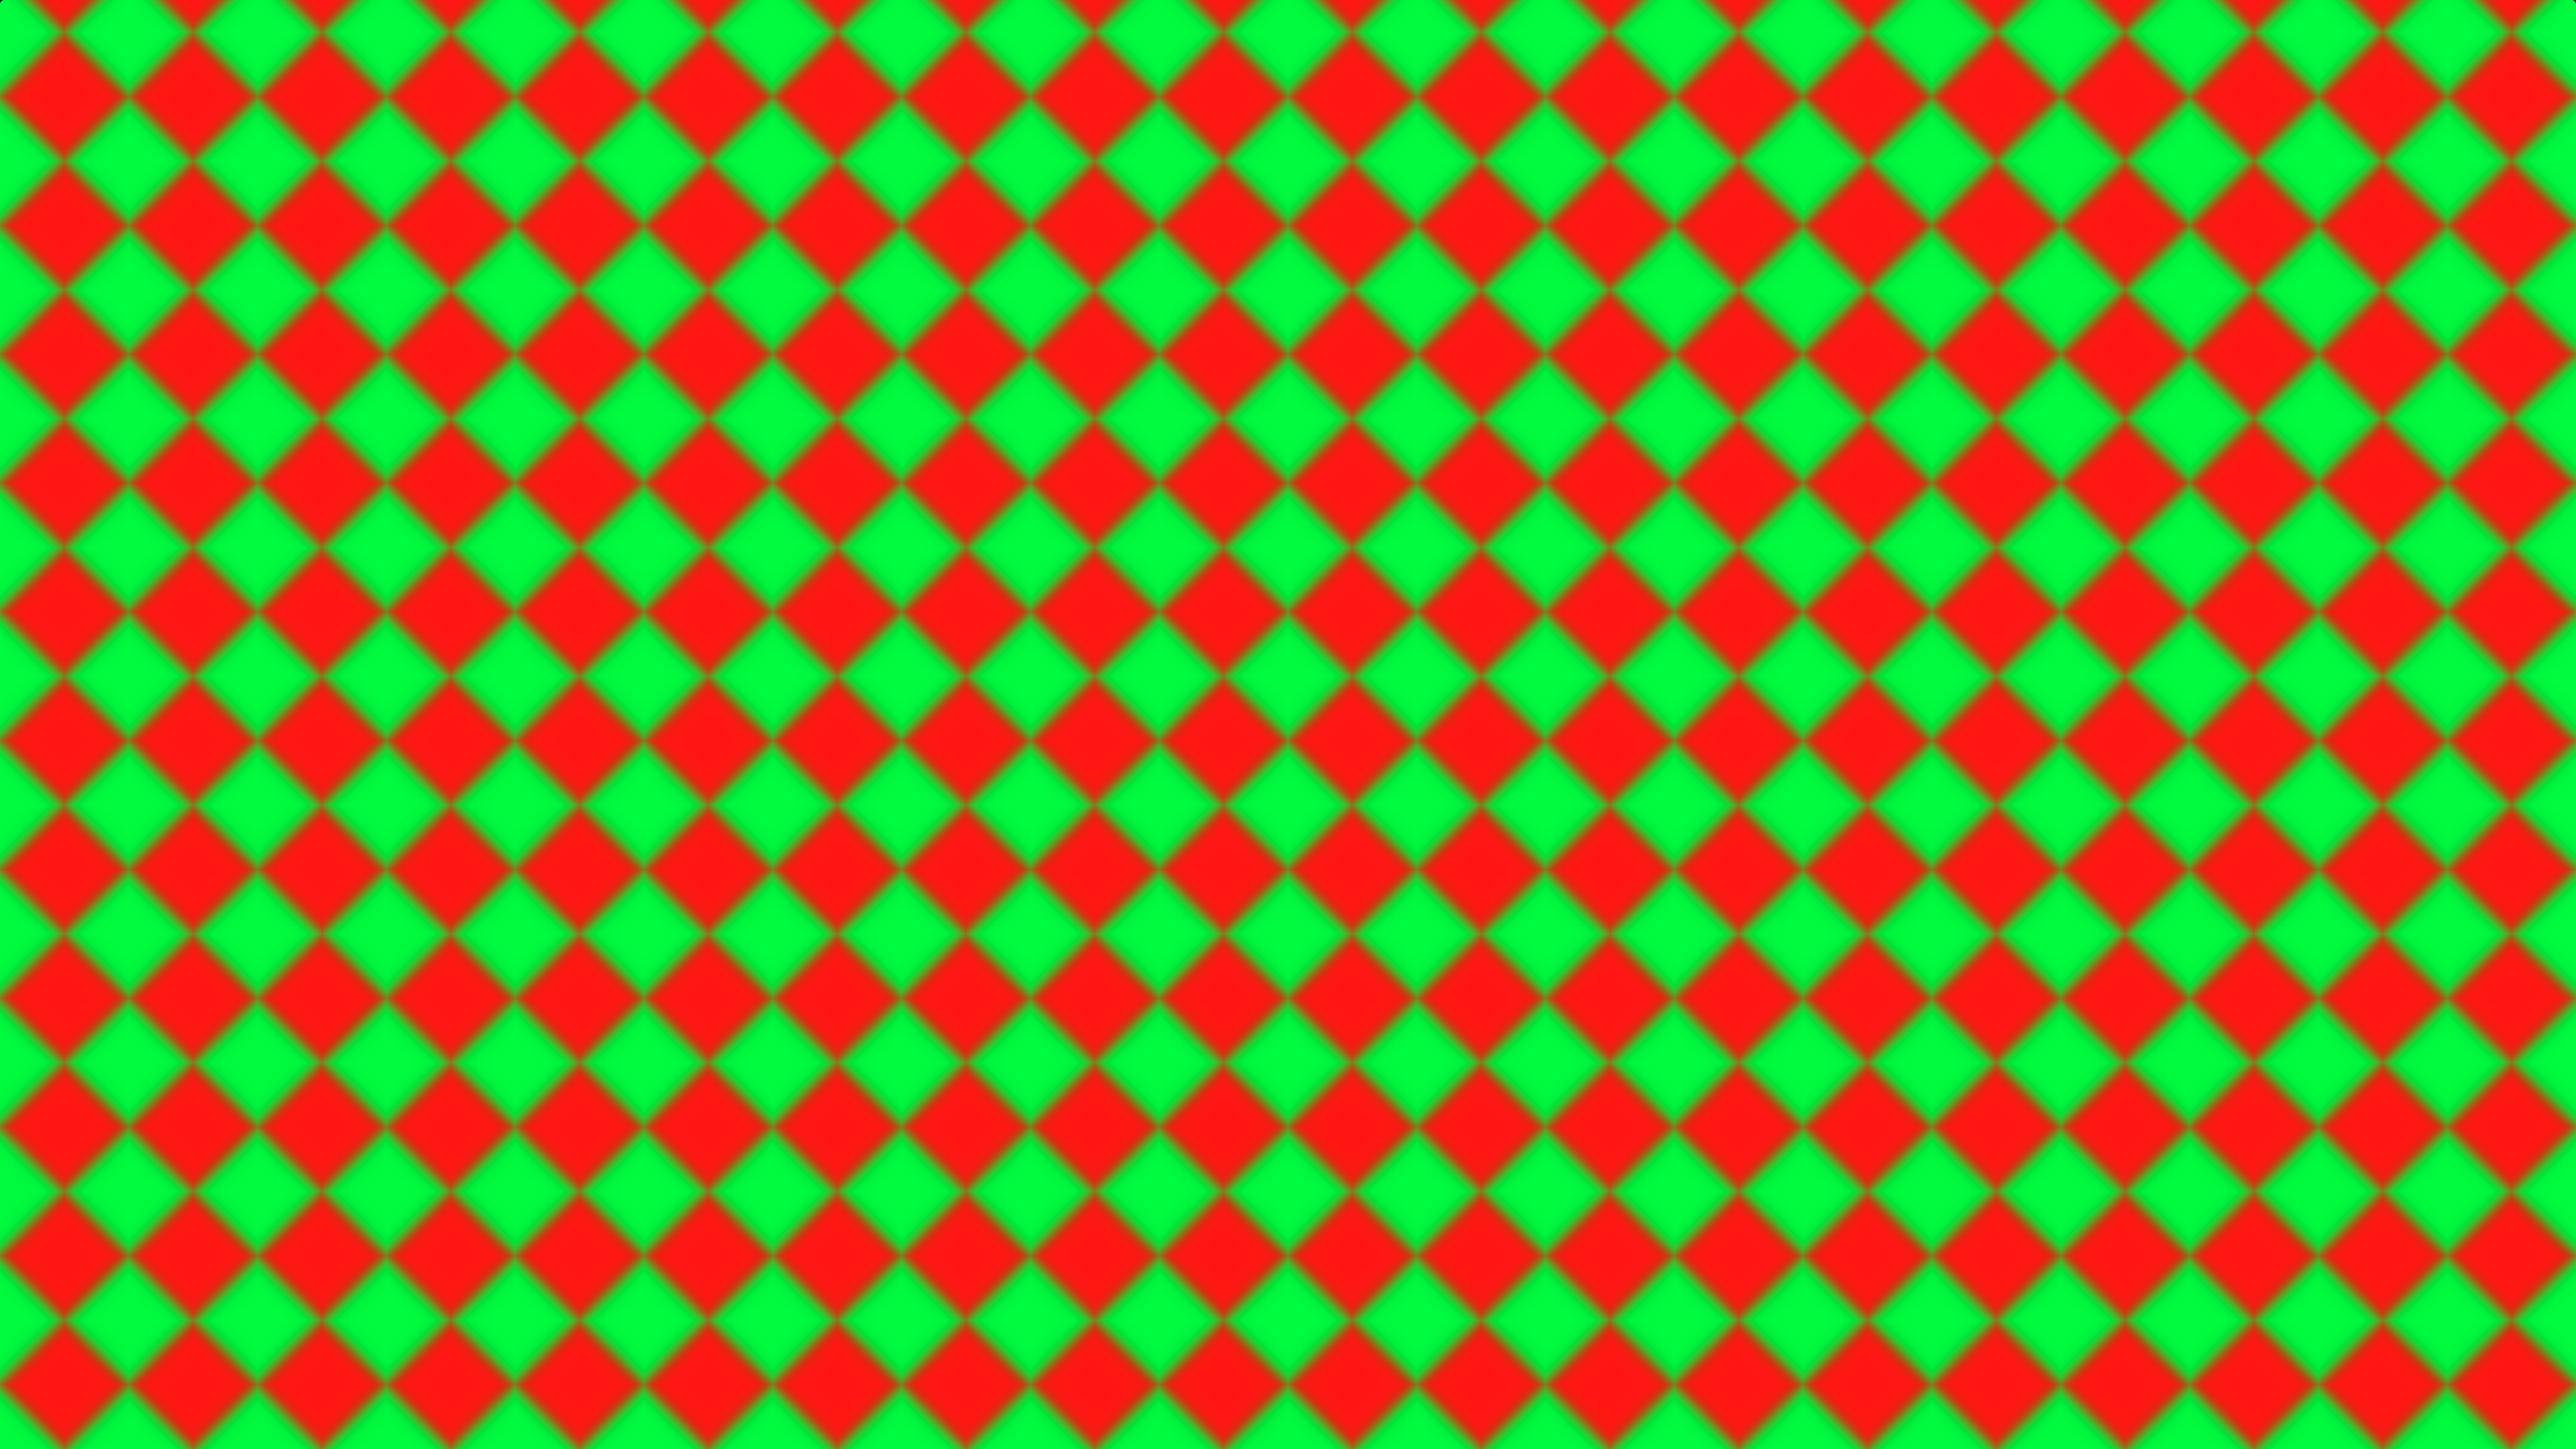
Hexagon grid
One way to break texture repetition is to generate an RGB hexagon map. For every color of the hexagon grid, you can have a different transformed texture placement. After that blend the textures together.
float2 l_hex_uv = l_uv;
// Rotate hex grid slightly
l_hex_uv.x += l_hex_uv.y * 0.25;
l_hex_uv.y -= l_hex_uv.x * 0.25;

// Scale hex grid
l_hex_uv = frac(l_hex_uv) * 80;

// Tilt hex grid UVs
l_hex_base_uv.x -= l_hex_base_uv.y * 0.5;

// RGB hex Grid
float2 l_hex_uv_floor = floor(l_hex_base_uv);
float3 l_grid_rgb = round(frac(((l_hex_uv_floor.r - l_hex_uv_floor.g + 0.00001) + float3(0,1,2)) / 3 + 5/3));

// Hex gradients
float2 l_hex_uv_frac = frac(l_hex_base_uv);
float l_hex_gradient_branch = l_hex_uv_frac.x + l_hex_uv_frac.y - 1;
float2 l_hex_gradient_gb = (l_hex_gradient_branch < 0 ? l_hex_uv_frac : (1 - l_hex_uv_frac.yx));
float l_hex_gradient_r = abs(l_hex_gradient_branch);
float3 l_hex_gradient_rgb = float3(l_hex_gradient_r, l_hex_gradient_gb);

// Combine hex colors
float3 l_hex_grid_rgb = float3(dot(l_grid_rgb.zxy, l_hex_gradient_rgb),
                               dot(l_grid_rgb.yzx, l_hex_gradient_rgb),
                               dot(l_grid_rgb.xyz, l_hex_gradient_rgb));
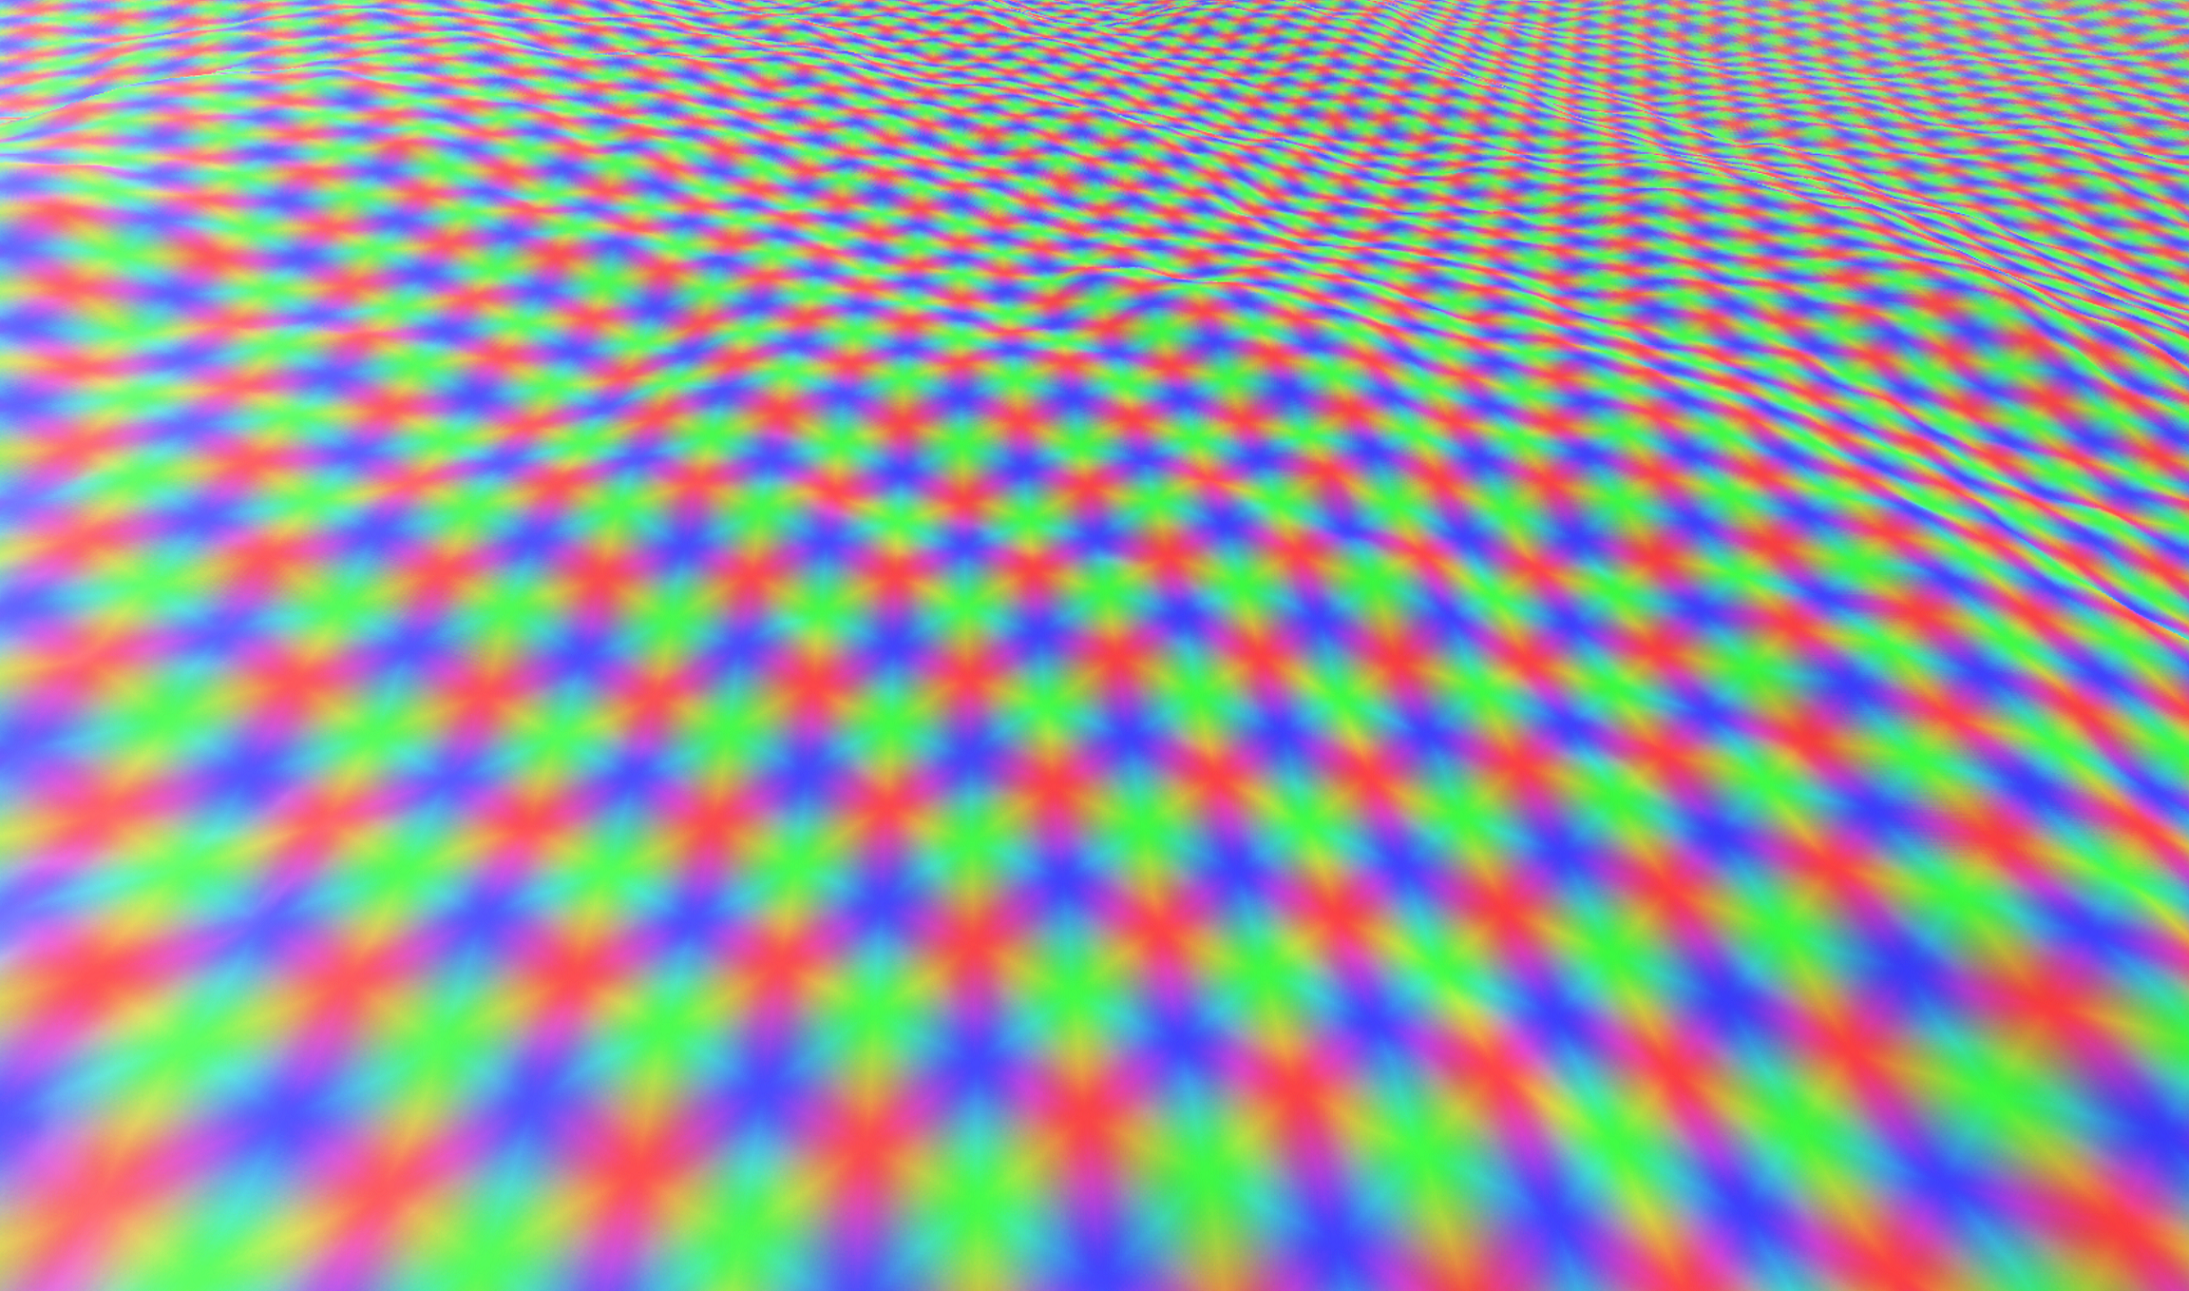
Soft Hexagon Grid
We now have something resembling some type of grid, but the hexagon grid is not yet visible and appears to be a blurry mess.
Fortunately, we can easily address this by first powering the hexagon grid by a chosen number and then dividing it by the sum of the three colors
const float l_hex_sharpness = 8;
float3 l_hex_grid_rgb_pow = pow(l_hex_grid_rgb, l_hex_sharpness);
float3 l_hex_grid_rgb_sharpen = l_hex_grid_rgb_pow / (l_hex_grid_rgb_pow.r + l_hex_grid_rgb_pow.g + l_hex_grid_rgb_pow.b);
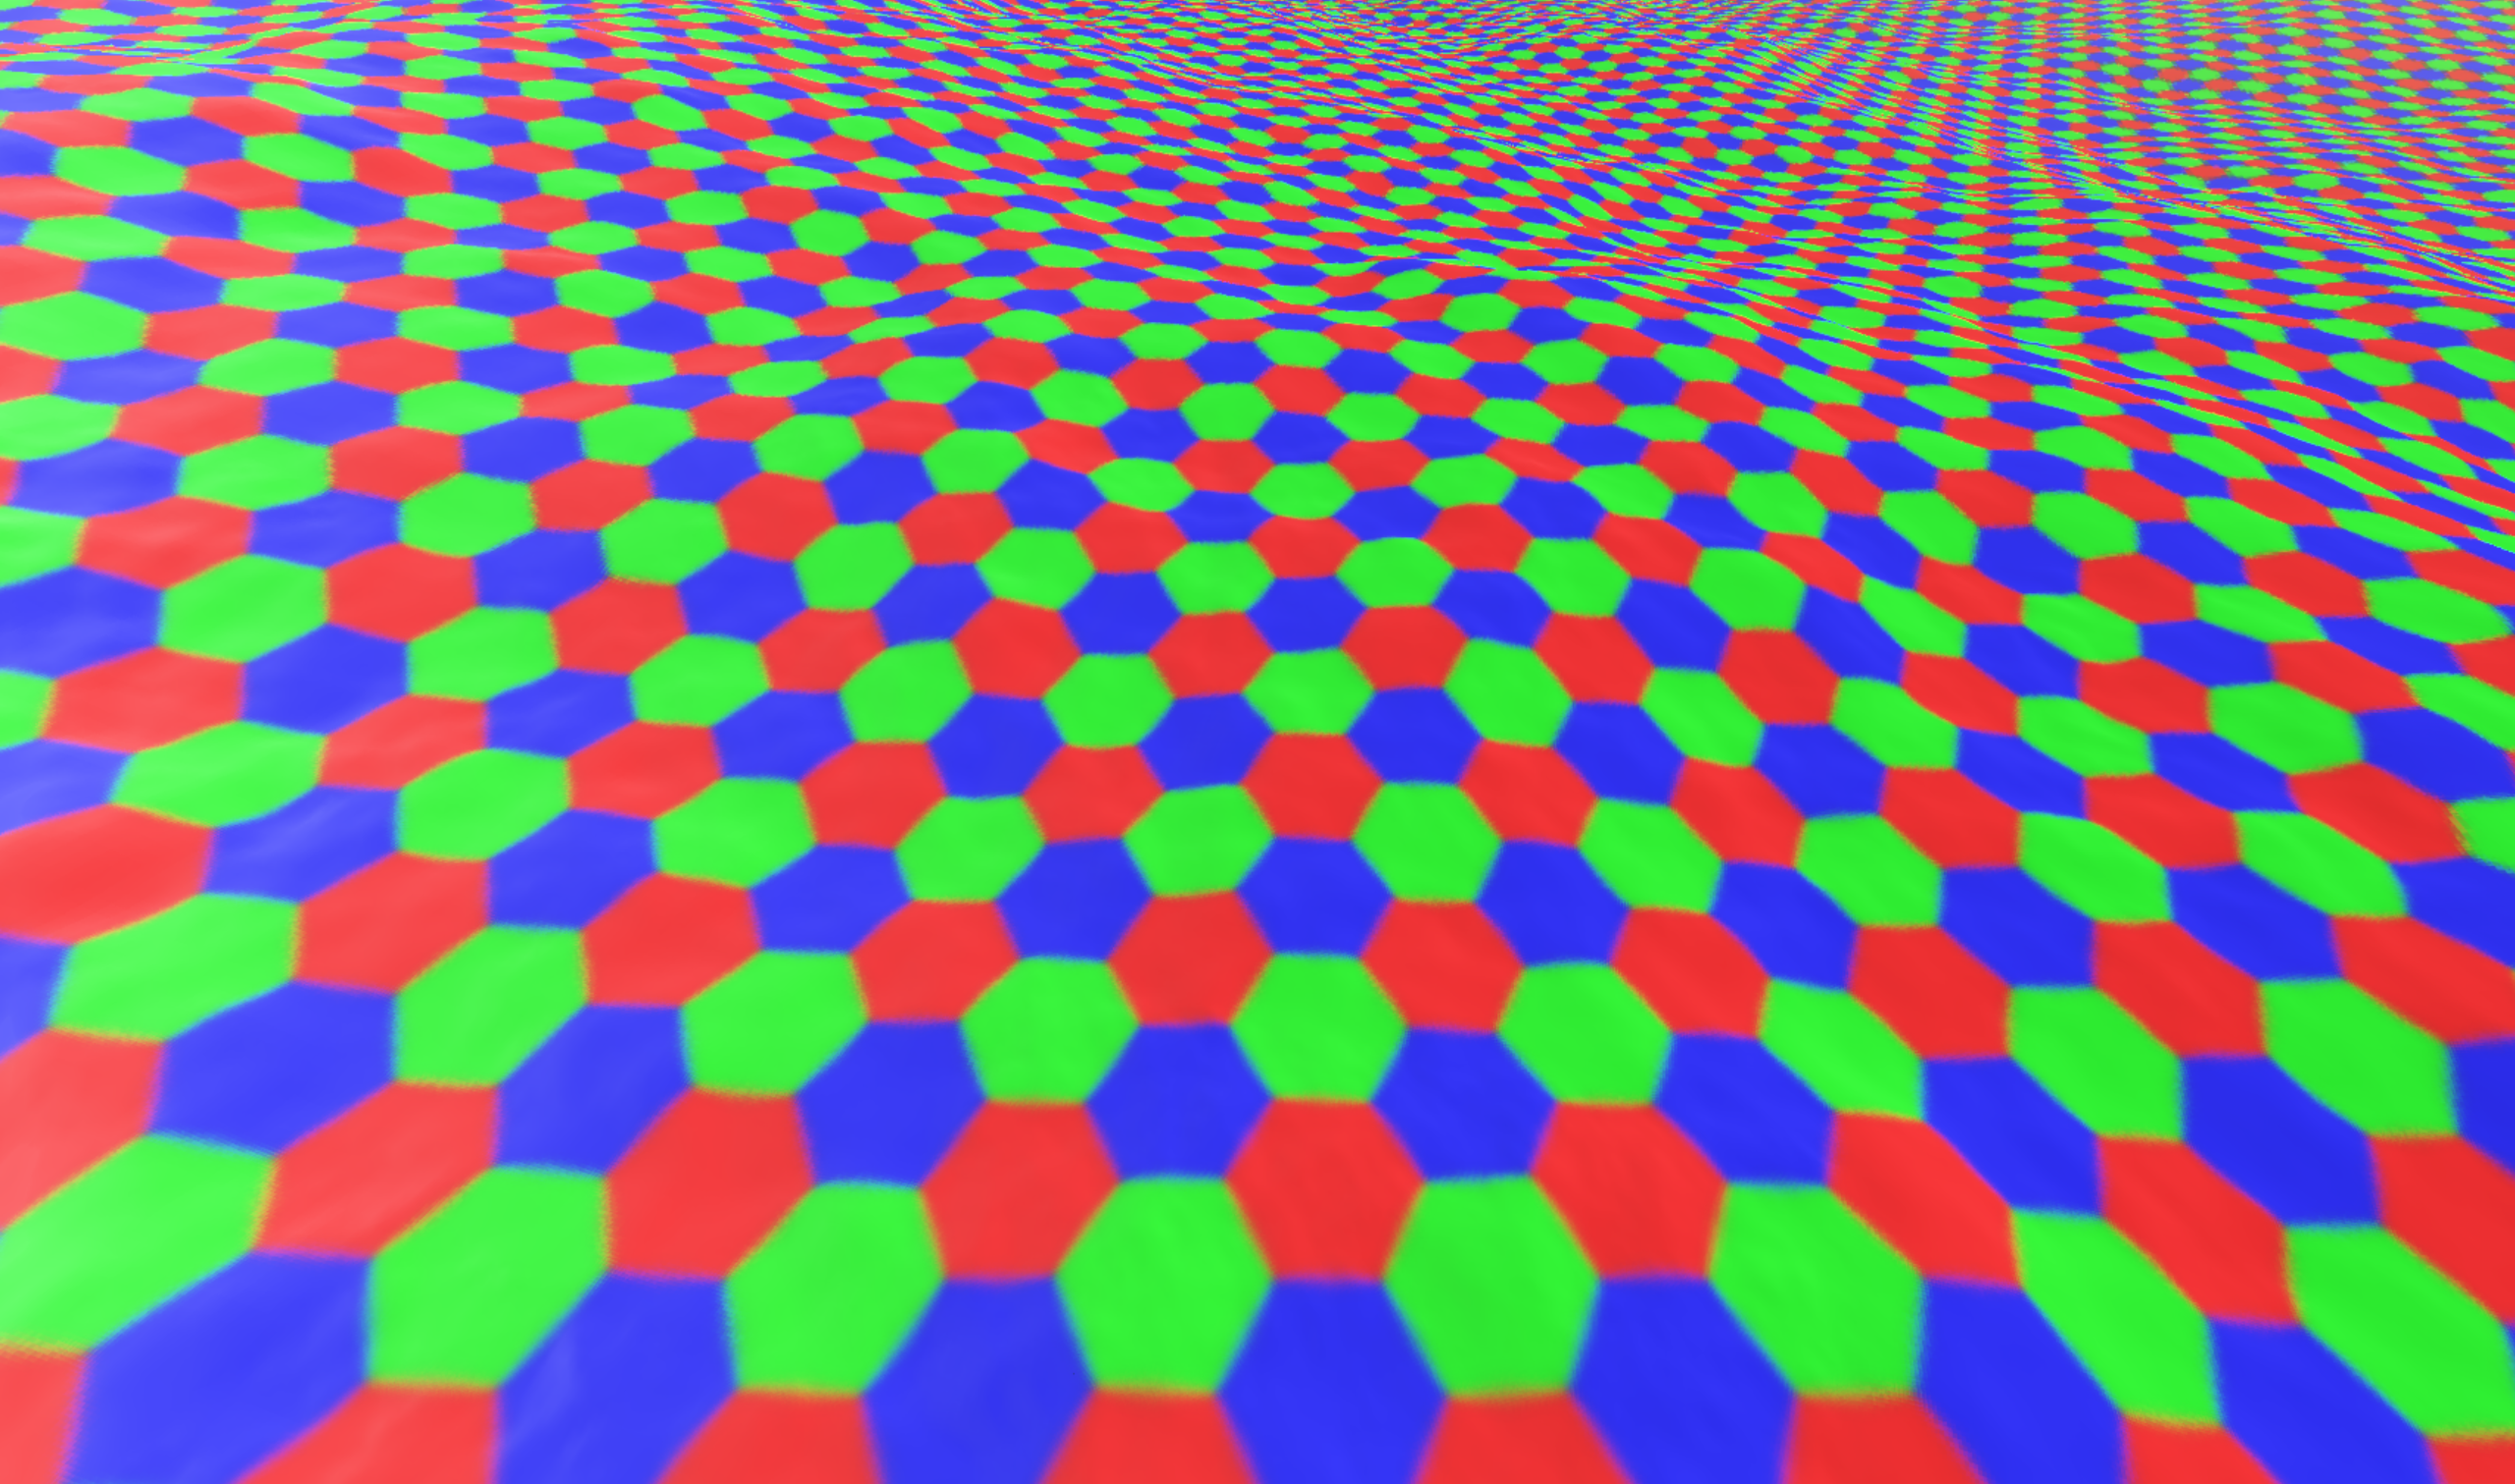
Hexagon grid
By adjusting the 'l_hex_sharpness' variable we can control the sharpness of the hexagons. A transition is needed between the hexagons. This will be used for blending the textures together.
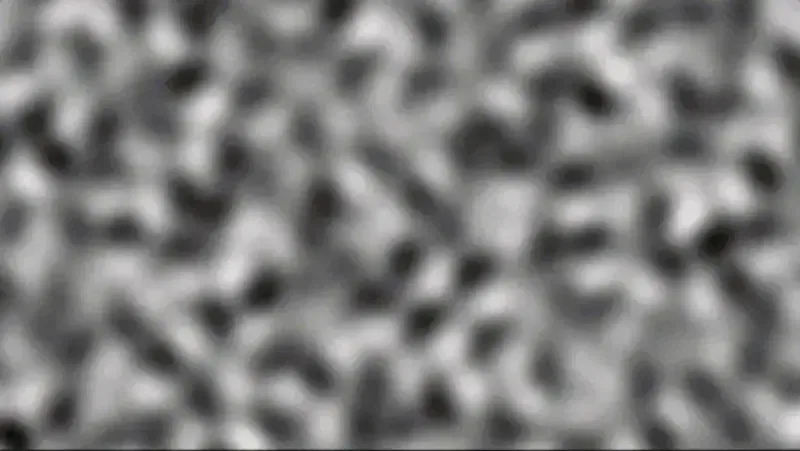
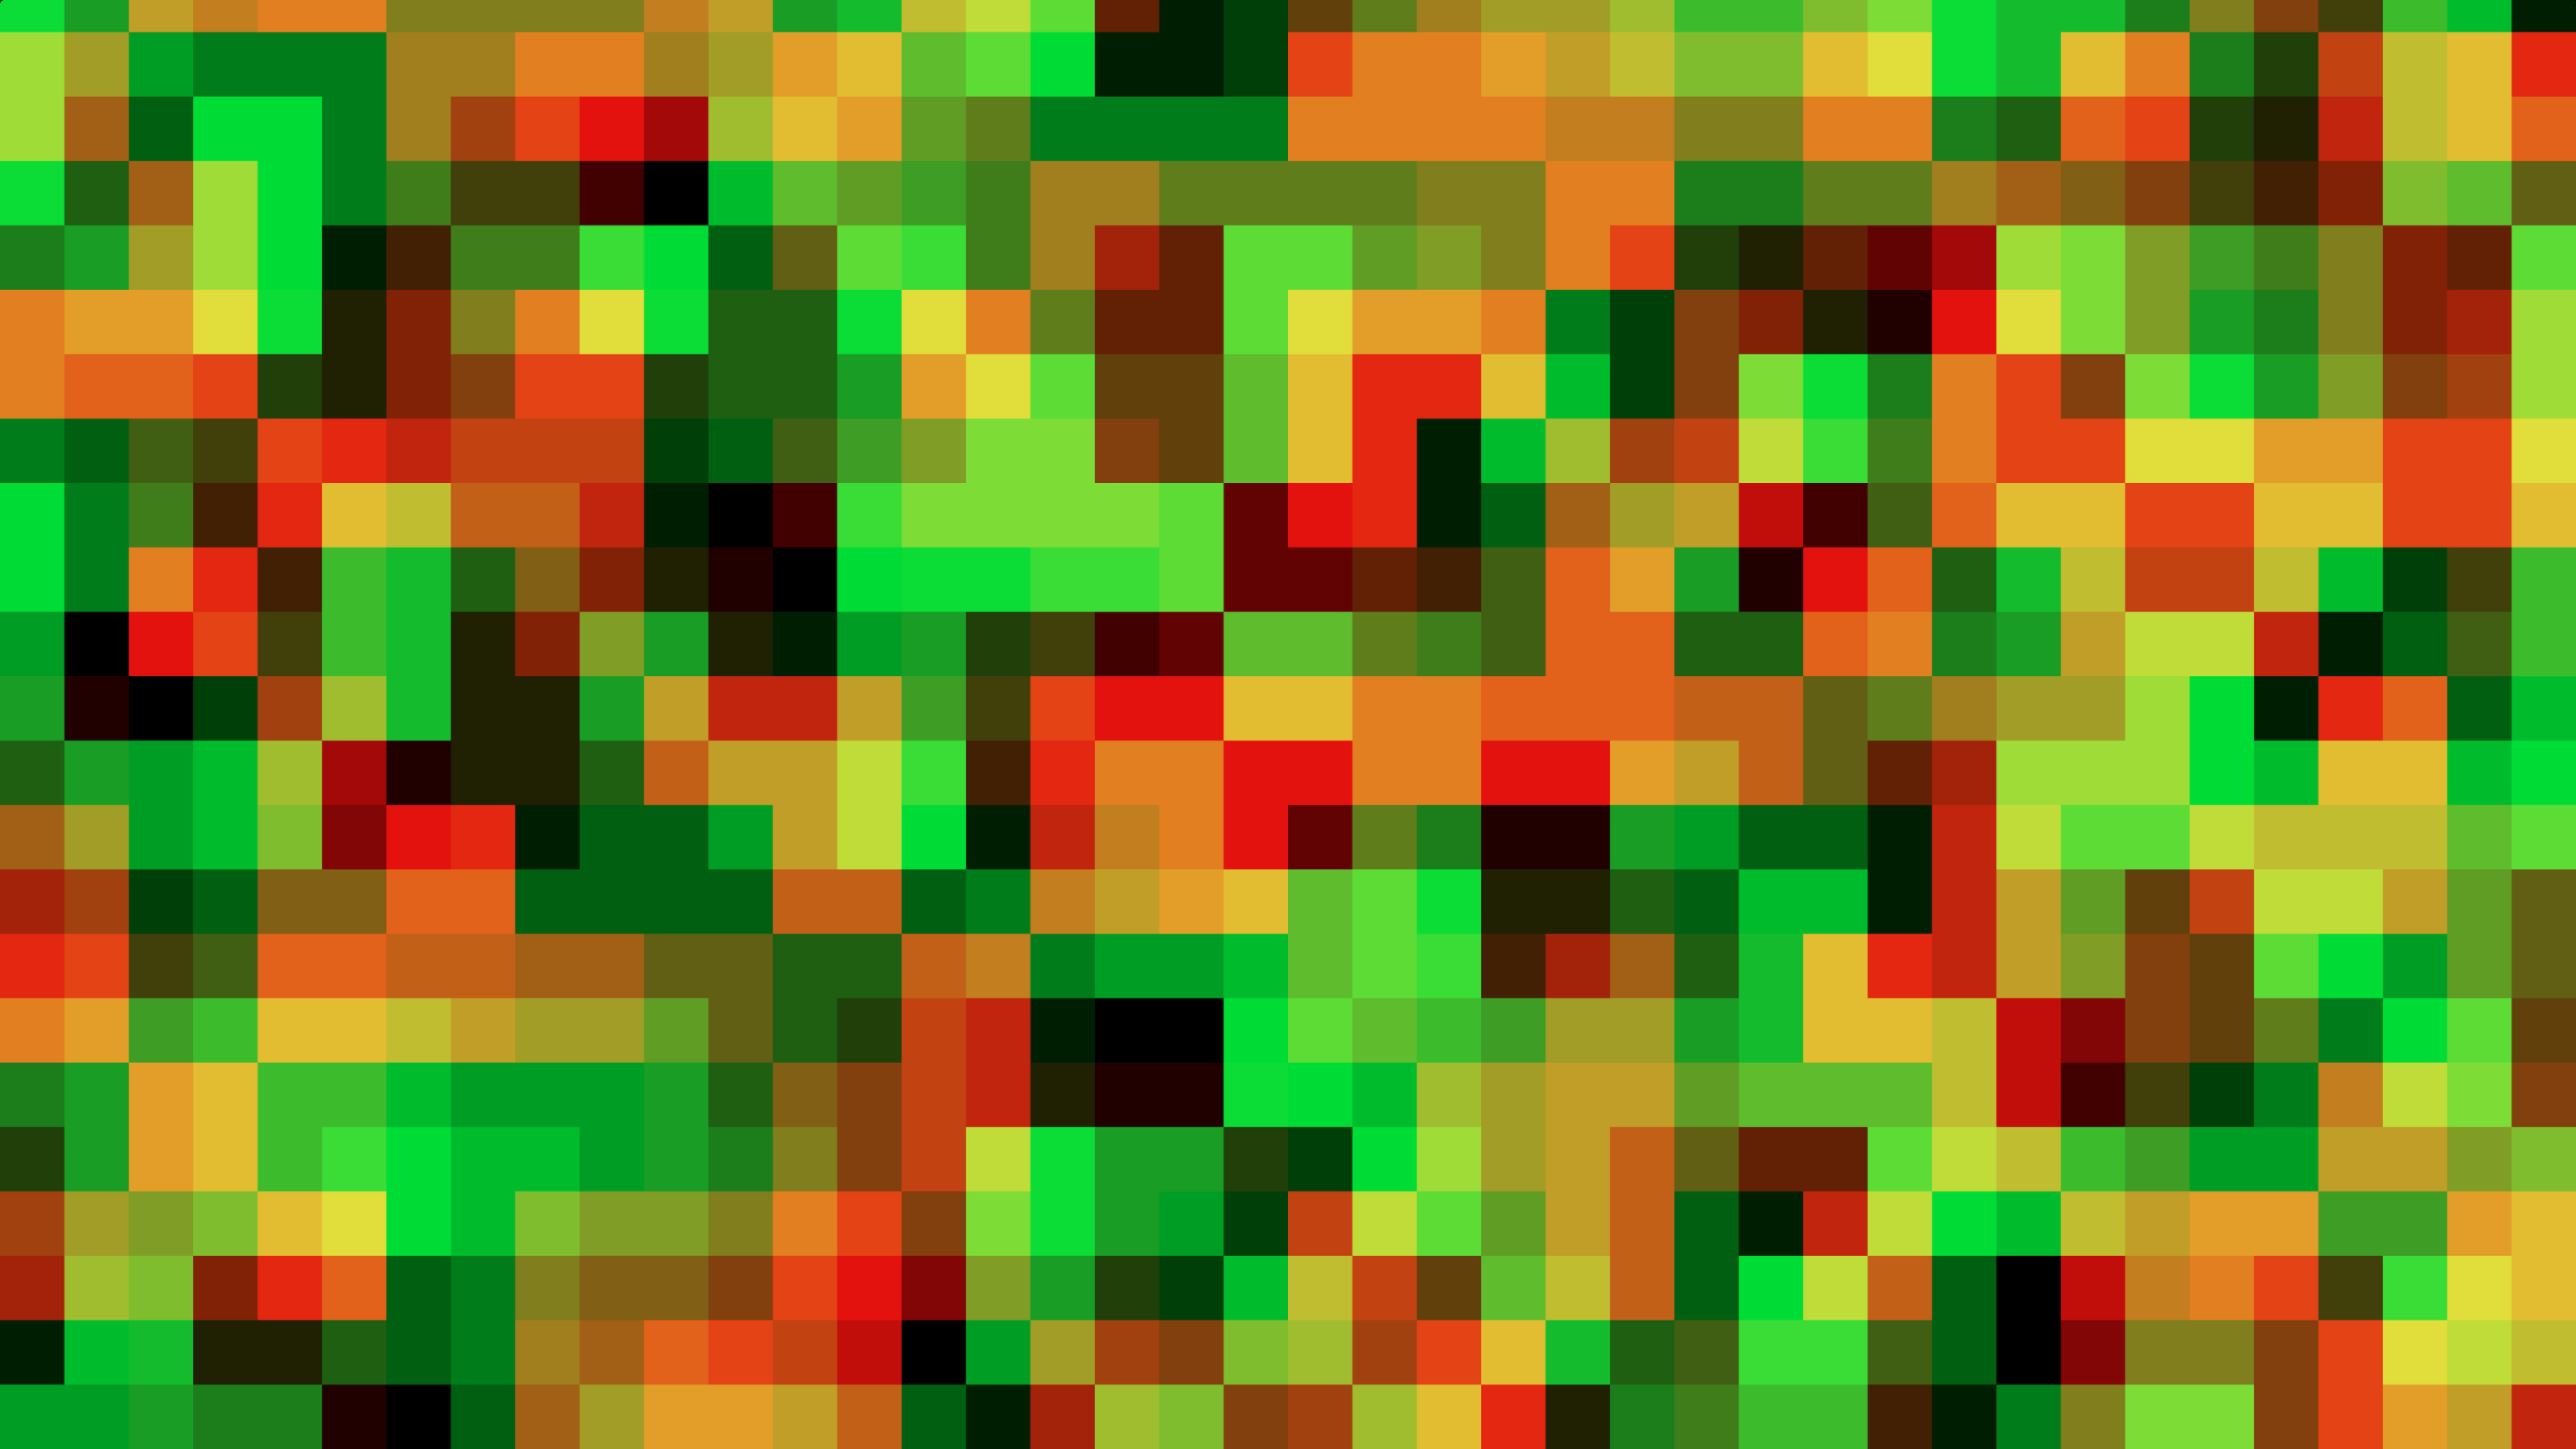
Single Noise
We can also generate some noise (like Perlin or simplex noise), then make sure the noise values go from [0 - 1]. We can then split the noise into 3 RGB bands.


Here is the code to transform a greyscale 0-1 value to 3 RGB bands. You can increase the contrast with the 'contrast' variable.
const float l_contrast = 2.0;
float l_mask_r = sin(saturate( l_noise_grey * l_contrast) * PI);
l_mask_r *= l_mask_r;
float l_mask_g = sin(saturate( l_noise_grey * l_contrast - (l_contrast- 1.0) * 0.5) * PI);
l_mask_g *= l_mask_g;
float l_mask_b = sin(saturate( l_noise_grey * l_contrast- (l_contrast- 1.0)) * PI);
l_mask_b *= l_mask_b;
One issue with the method used here is that the red and blue masks become islands and the green fills everything inside. This will cause the green mask to be more continuous than we want.
Tripple noise
We could also create three noises and then blend them. Each noise is its separate mask. This would be heavier because we have to generate multiple noises instead of one but, you don't have to convert a greyscale noise to an RGB noise.
We can do the same as we did with the Hex grid to bring contrast to the mask. You power all the masks by some value. Then you divide them by the sum of the 3.

Triple noise with changing contrast
float noise_r = noise((uv + float2(33.33, 66.66)) * 10.0) * 0.5 + 0.5;
float noise_g = noise((uv + float2(-12.34, -9.3)) * 10.0) * 0.5 + 0.5;
float noise_b = noise((uv + float2(96.3, -52.13)) * 10.0) * 0.5 + 0.5;

float3 noise_rgb = float3(noise_r, noise_g, noise_b);

const float contrast = 10.0;
noise_rgb = pow(noise_rgb, contrast);
noise_rgb /= noise_rgb.r + noise_rgb.g + noise_rgb.b;
Checkerboard grid
If you are more focused on performance here is another option that also works great. Instead of random noise, we generate a checkerboard pattern. While the mask is less random than a hex grid or some noise. One thing we can do when we have a predictable mask is for every square of the grid we can generate a random value and use that for rotation and offset. So instead that of every color of the mask has the same offset and rotation, every checker has a different transform.
The reason this mask is more performant is that we can do this with only 2 texture samples instead of 3.
First, we generate a square grid where every square taper to the center and again normalize it as we did in the previous noises.

Checkerboard grid
float2 l_mask_r_uv = frac(l_mask_uv);
float l_mask_r = min(min(l_mask_r_uv.x, 1.0 - l_mask_r_uv.x),
                     min(l_mask_r_uv.y, 1.0 - l_mask_r_uv.y));

float2 l_mask_g_uv = frac(l_mask_uv + 0.5);
float l_mask_g = min(min(l_mask_g_uv.x, 1.0 - l_mask_g_uv.x),
                     min(l_mask_g_uv.y, 1.0 - l_mask_g_uv.y));

vec2 mask = vec2(mask_r + 3.0, mask_g + 3.0);
mask = pow(mask, vec2(65.0));
mask /= mask.r + mask.g;
Now for every square on this grid, we can generate a random value that can be used to transform the UVs.
Random values
float l_mask_r_random_rot = random2(floor(l_mask_uv)).r;
float2 l_mask_r_random_off = random2(floor(l_mask_uv) + 1000.0);

float l_mask_g_random_rot = random2(floor(l_mask_uv + 0.5) + 100.0).r;
float2 l_mask_g_random_off = random2(floor(l_mask_uv + 0.5) + 100000.0);
Step 2 - Rotate textures
One of the transformations that you can do is rotation. Rotation will break some directional continuality on your texture (if you have a color gradient in your texture or if your texture is a bit anisotropic). For every mask that you have made, we can have a different rotated texture. We can use a simple 2D rotation function.
float2 rotate_2d(float2 p_input, float p_theta)
{
    float2x2 l_rot_matrix = float2x2(cos(p_theta), -sin(p_theta),
                                     sin(p_theta),  cos(p_theta));
    return mul(l_rot_matrix, p_input);
}
One problem we have with rotating the textures is, that most people have continuous UVs (UVs that go from 0 to a big number). Our UVs are non-continuous (they repeat from [0 - 1]). Because of this we cant freely rotate the textures. If we would freely rotate the textures they will no longer tile. Rotating them quarterly / 90° would still work.

Texture rotated by 90°
We could also rotate them by 45° but then the scale would be incorrect. When the texture is diagonal we need to scale it by √2 (the diagonal length of a square).
Texture rotated 45° and scaled
If you use “Checkerboard grid“ then here are a few more things you can do. First, we need to change the random 0-1 values that we generated for the rotation to [0 - TAU] and make sure the rotations only go in steps of 4 or 8.
const int l_rotation_steps = 4;
float l_rotation_r = floor(l_mask_r_random_rot * l_rotation_steps ) / l_rotation_steps * TAU;
float l_rotation_g = floor(l_mask_g_random_rot * l_rotation_steps ) / l_rotation_steps * TAU;
Step 3 - BlendingLinear blending
The simplest and cheapest way to blend the 3 textures is to multiply them with their corresponding hexagon grid color and then add them together.
float3 l_tex_01_masked = l_tex_01 * l_mask.r;
float3 l_tex_02_masked = l_tex_02 * l_mask.g;
float3 l_tex_03_masked = l_tex_03 * l_mask.b;

float3 l_tex_combined = l_tex_01_masked + l_tex_02_masked + l_tex_03_masked
Linear blending
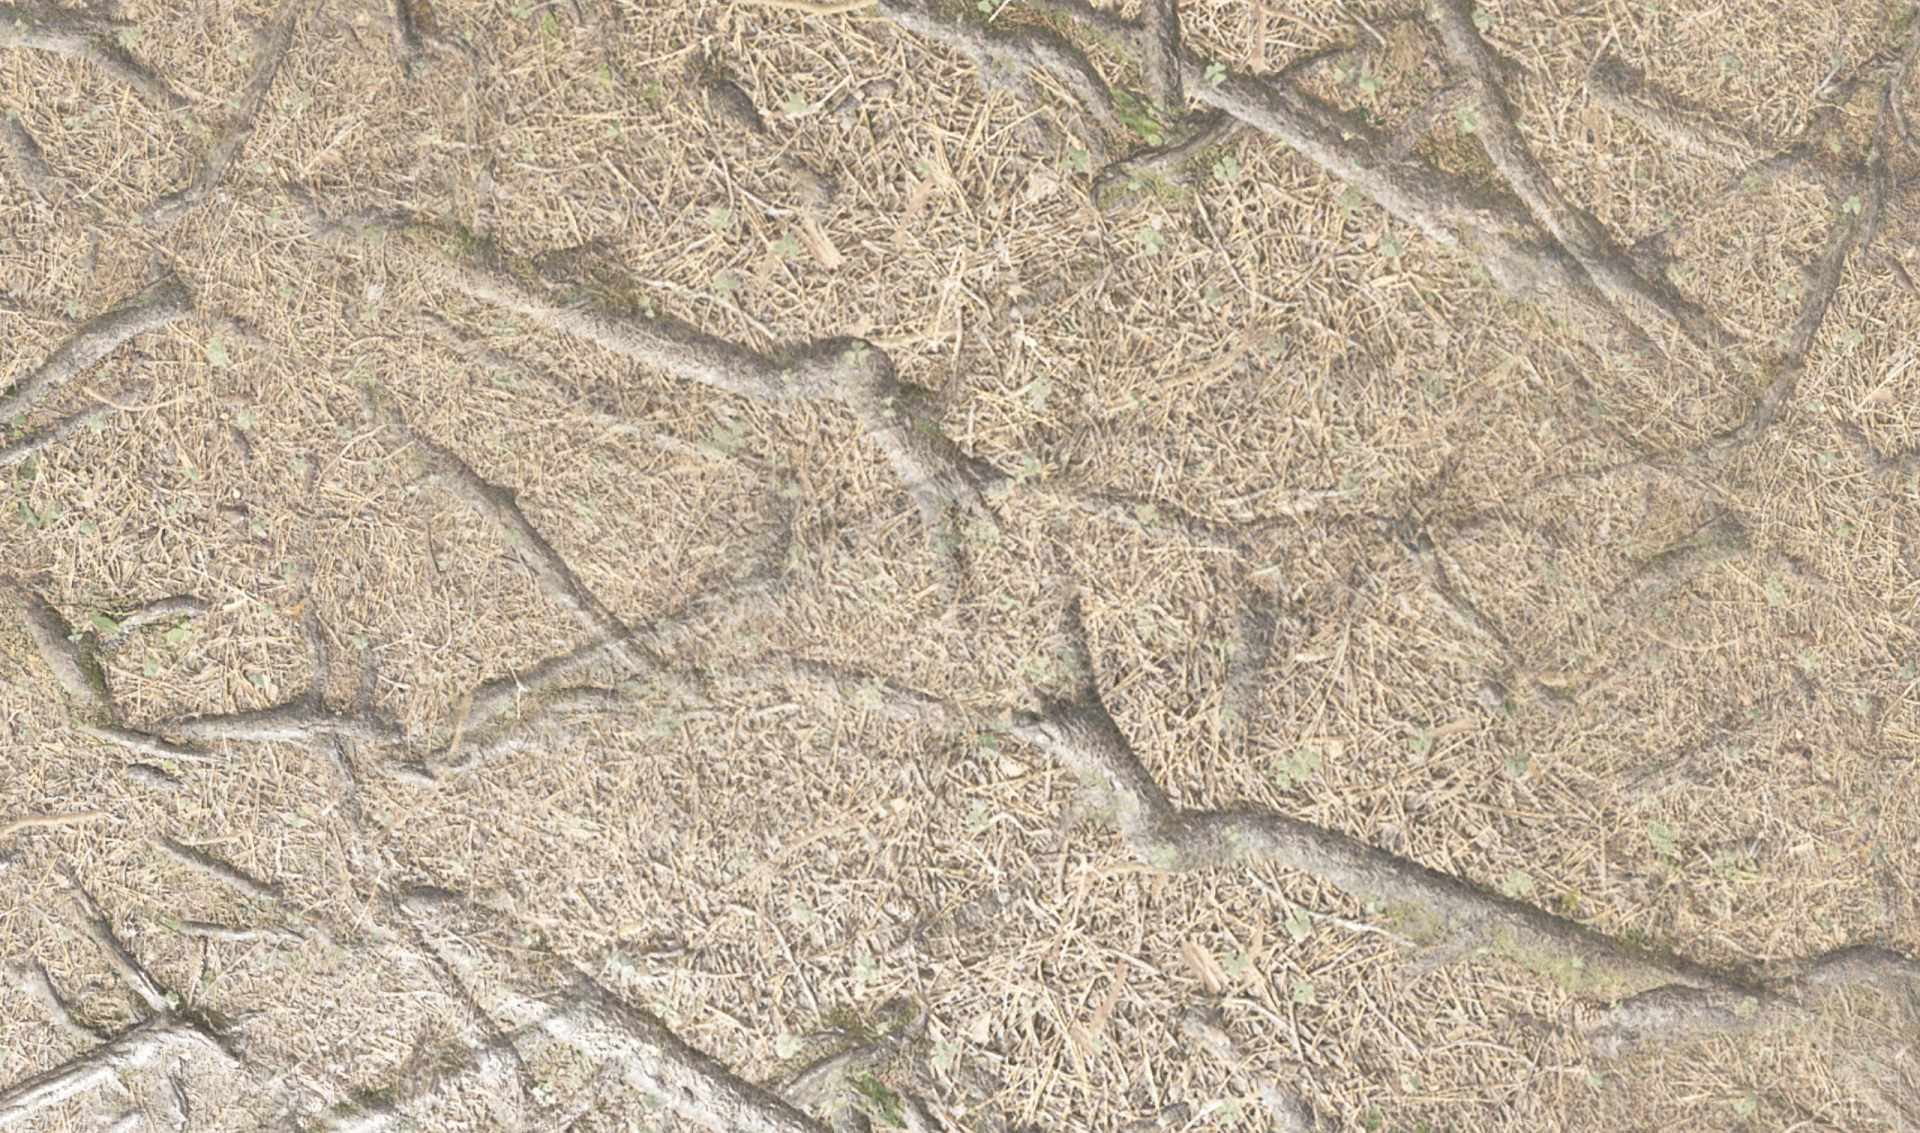
This gives a decent result from a distance, but if you get close you will see the ugly linear blending. You will see multiple elements being blended (dry grass and tree roots). You could decrease the blending distance but then some texture elements would randomly stop.

Linear blending fade
Linear blending lack of continuation
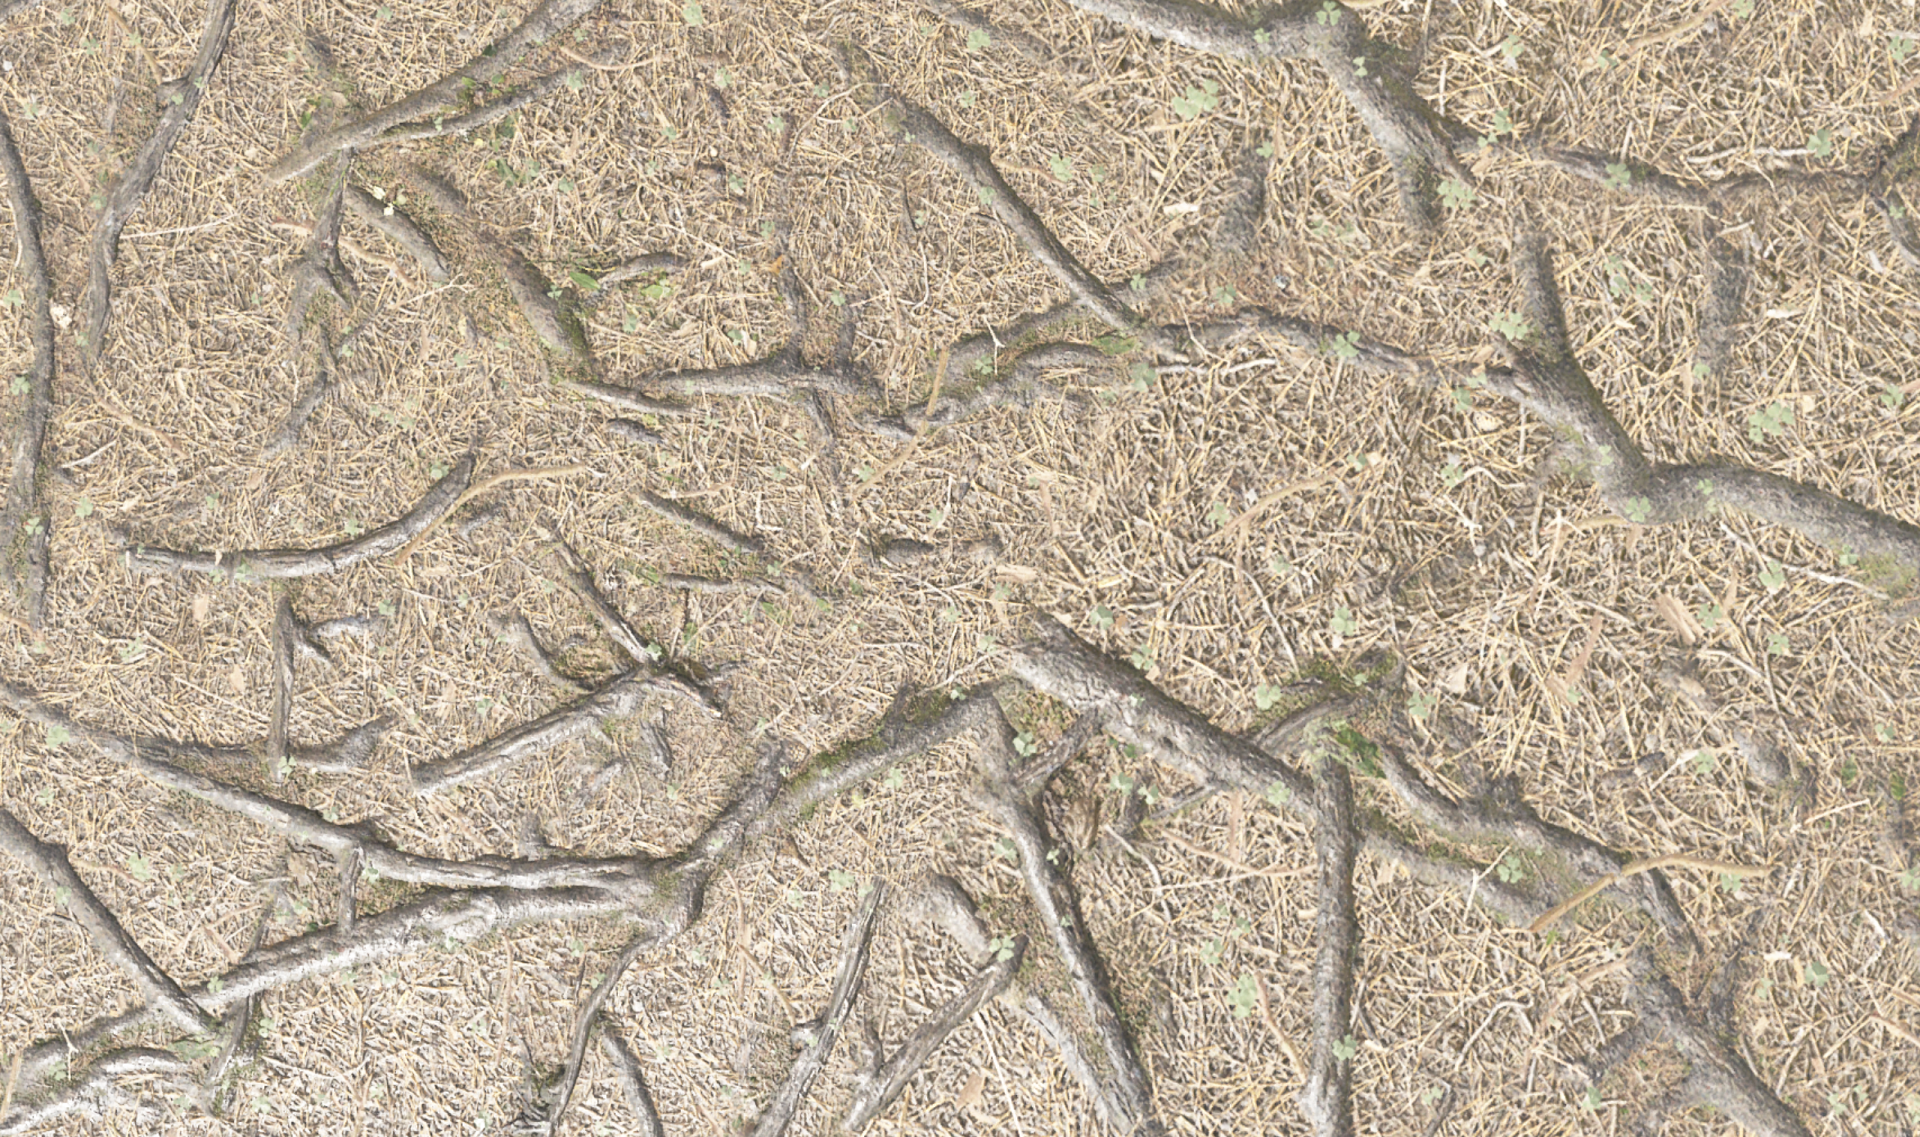
Height blending
Another option is height blending. This will use the height map to determine how to blend the different textures. With height blending, you retain some continuation in texture elements (like the roots)
Here is a simple function for doing height blending.
float3 height_blend(float3 p_color_01, float3 p_color_02, float3 p_color_03,
                    float p_heightmap_01, float p_heightmap_02, float p_heightmap_03,
                    float3 p_mask)
{
    float3 l_heightmap = float3(p_heightmap_01, p_heightmap_02, p_heightmap_03) * p_mask;

    if(l_heightmap.r > l_heightmap.g && l_heightmap.r > l_heightmap.b) return p_color_01;
    if(l_heightmap.g > l_heightmap.r && l_heightmap.g > l_heightmap.b) return p_color_02;
    if(l_heightmap.b > l_heightmap.r && l_heightmap.b > l_heightmap.g) return p_color_03;

    return 0;
}
Step 4 - Fixing normal maps
An issue you can experience is that your tangent space normal maps don't work correctly anymore. You will see that some parts of the normal map are lit from different angles. Fortunately, there is a simple solution. You can use the same 2D rotation function, that is used to rotate the UVs, to rotate the XY / RB components of the tangent normal map. You can use the same rotation values as used when rotating the UVs. You don't need to normalize the normal map post rotation as the function doesn't change the length of the normal.


Linear blending linear - Linear blending height


Wrong normal map directions - Corrected normals
Conclusion
After using these techniques you should have reduced or completely removed tilling from your terrain! All this will come at a performance cost but, for big stretches of land using only a few textures, this will improve the visual quality and immersion a lot.


Reference / Resource
Ben Cloward, Procedural Hex Grid https://www.youtube.com/watch?v=hc6msdFcnA4&t=368s
Inigo Quilez, Texture Repetition https://iquilezles.org/articles/texturerepetition/
Jason Booth, Stochastic Texturing https://medium.com/@jasonbooth_86226/stochastic-texturing-3c2e58d76a14
mmikk, hextile-demo https://github.com/mmikk/hextile-demo


